Hi guys, today I want to share you a beautiful text effect tutorial for Adobe Illustrator users. The tutorial includes easy to implement methods which anyone of any level can easily follow and create their own glow light effect for any custom text. I hope you all enjoy this graphic design tutorial.It available in both video and text format and a source AI vector format is also available for free download. So here you go for text version of the tutorial.
Create a new document in Illustrator that is 11″ wide and 4.33″ tall, its the size I have set. You can customize the size for the canvas. Now Create a Rectangle (M) of the same size as of your canvas. Fill the rectangle with a black color (I used C=100, M=100, Y=100, and K=100).
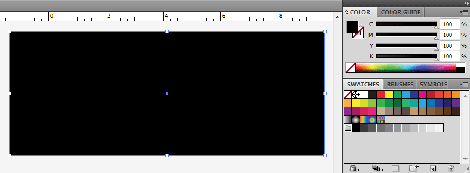
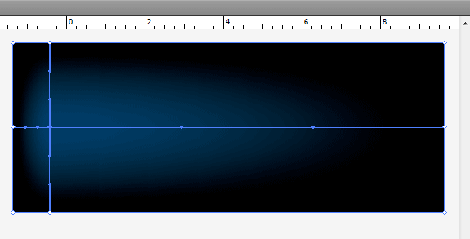
I am going to use the basic Mesh Tool of Adobe Illustrator here, most of you are aware of that. So with the Mesh Tool (U), click on the rectangle about an inch from the left in the center of the rectangle. Change the color of the mesh point to dark blue. The CMYK values I used are C=100, M=40, Y=0, and K=60.
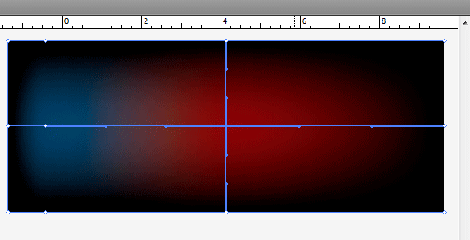
By using the Mesh Tool (U) again, create another mesh point in the center of the rectangle. Try to keep it in line horizontally with the first mesh point. Change color of second mesh point to dark red (C=0, M=100, Y=100, and K=50).
Add another mesh point about an inch backward from the right and change the color to dark orange (C=0, M=80, Y=100, and K=30).
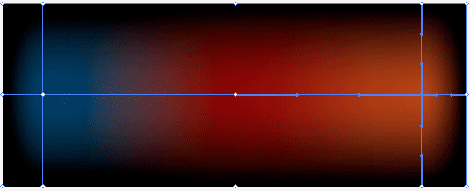
Our background is now ready. In the next couple of steps we’re going to create a brush for the glowing abstract lines. With the Rectangle Tool (M), create a rectangle that is 4″ wide and .125″ tall. You can use your own dimensions as well. Fill it with a 5% of black.
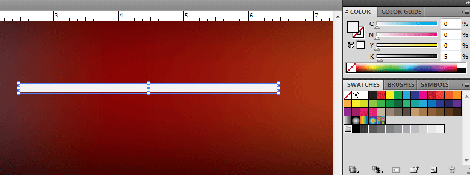
Copy (Ctrl + C) the rectangle we have just created and Paste it in Front (Ctrl + F). Change the height of the copied rectangle to 0.03″ and fill it with white. Set the transparency for the first rectangle to 0.
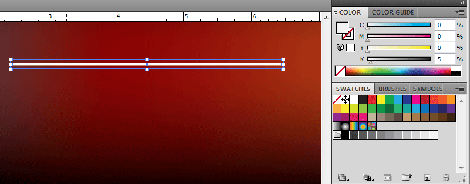
Select both the rectangles and create a Blend by going to menu Object > Blend > Make (Alt+Ctrl+B) . Now the line should look like it is glowing. Select your blended object and drag it into the Brush Panel. Then choose New Art Brush from the options. Keep all the default Art Brush Options the same. We are now done with the brush for our glowing lines and you can set blended rectangles aside or delete it.

With the new brush we created, start creating the horizontal wave-like lines using the pen tool. Draw 4 to 5 horizontal lines as shown in the image below; set the stroke weight to 1pt with the stroke color white. With the all lines selected, from the Transparency panel change the Blending Mode to Overlay. See the image below.
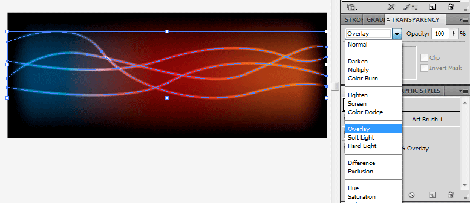
Next, draw 4 to 5 more lines, set Blending Mode to Overlay, and change the Stroke Weight to 0.5 pt. Again draw 5 to 10 more lines, set to Overlay, change the Stroke Weight to 0.25 pt, and set the Opacity to 20% from the Transparency Panel. Draw 3 to 5 more lines, set to Overlay, change the Stroke Weight to 3 pt, and set the Opacity to 35%.
Now select all the lines and make a group of them and set the Opacity to 50%. You artwork will look like as shown below:

Lines are done and now its the time to add a little more glow to our artwork. So for this, create an ellipse with the Ellipse Tool (L) of 0.5″ x 0.5″. You can always use your own dimensions. Change the color to a 8% of yellow. Copy (Ctrl + C) the ellipse, Paste it in Front (Ctrl +F), scale it down to 0.25″ x 0.25″, and change the fill to white.
Next change the Opacity of the first ellipse to 0% from the Transparency Panel and blend the two ellipses like the brush we have created.
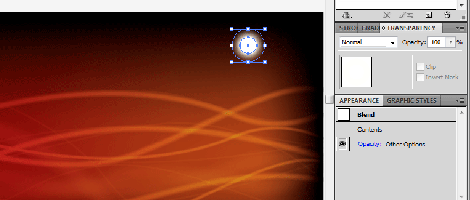
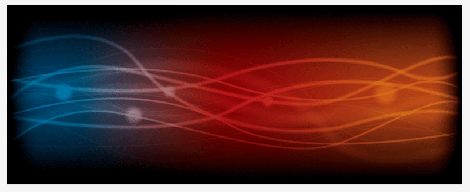
Place the blended ellipse over the line where a couple of them converge and set the blend mode to Overlay and set the Opacity to 50%. Copy (Ctrl + C) and Paste (Ctrl + V) the blended ellipse around other line intersecting areas in the artwork. Our background artwork will now be shown like this.
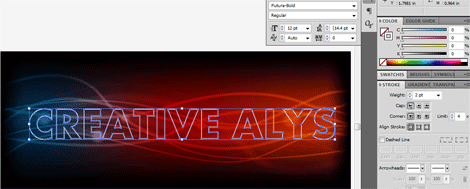
Now write your own text as I have used CREATIVE ALYS. The font I used is Futura-Bold. Convert the text into path (Ctrl + Shift + O). Set Stroke color to White and Stroke Weight to 2pt. Set the Fill to None.
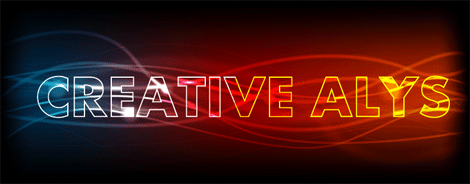
Now Copy (Ctrl + C) the horizontal glowing lines and glowing ellipses and Paste in Front (Ctrl + F). Set the Opacity of the copied lines and ellipses to 100% and group them (Ctrl + G). Bring the copied objects to front by going to Object > Arrange > Bring to Front (Ctrl + Shift + ]).

Finally select the brush lines with the opacity 100% and ellipses and the converted Text CREATIVE ALYS. Right Click them and select Make Clipping Mask. You have noticed that it is now masked but the stroke for your text is not showing. So for this select the text with Direct Selection Tool (A) and set the stroke to White and weight would be 2pt. Here is the final artwork.
I am sure that you found this tutorial quite easy as it looks really amazing.
Grab this freebie now and feel free to use and share it. Also don’t forget to check out our design shop for more great resources. Subscribe to our YouTube Channel to get more amazing stuffs and useful information.








Thank You for this.